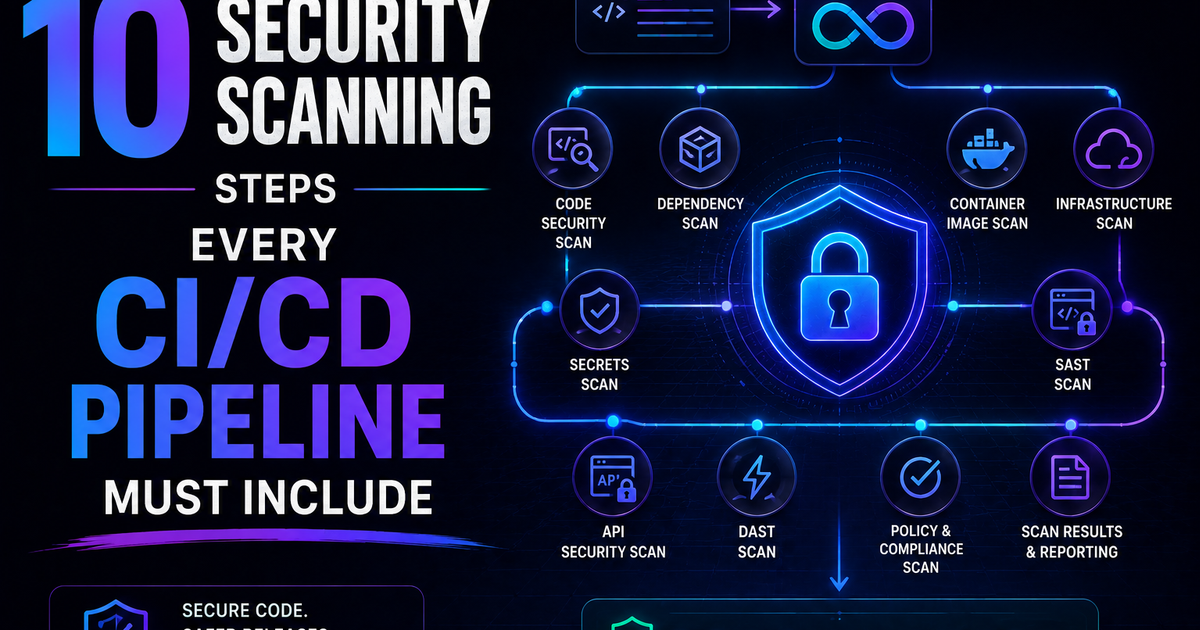
10 Security Scanning Steps Every CI/CD Pipeline Must Include
SAST, SCA, container scanning, DAST, runtime verification – 10 security steps every CI/CD pipeline needs in 2026. Open source tools, real examples, and a rollout timeline. Stop shipping vulnerabilities.
You are shipping code every day. You are also shipping vulnerabilities. You just do not know which ones.
Let me tell you something that should scare you.
Every time you push code to production, you are potentially shipping a security vulnerability. Not because you are a bad developer. Because modern applications have too many dependencies, too many configurations, and too many moving parts for any human to audit manually.
The average modern application has over 100 direct dependencies. Each of those has its own dependencies. By the time you count transitive dependencies, you are looking at 500-1000 libraries. Each of those libraries could have a known vulnerability. Each of those vulnerabilities could be an entry point for an attacker.
You cannot review 1000 libraries manually. No one can.
But your CI/CD pipeline can.
I have built pipelines for startups and enterprises. I have seen the ones that work and the ones that do not. The difference between being hacked and not being hacked is not "we have a security team." The difference is automation.
This article is about the ten security scanning steps that belong in every CI/CD pipeline. Not "nice to have." Not "we will get to it." Required. Before production. Every single build.
Because the alternative is finding out about your vulnerabilities from a hacker's ransom note.
What Makes a Security Scanning Step Worth Including?
Not every security scan is created equal. A step belongs in your pipeline if it meets at least three of these criteria:
| Criterion | What It Means |
|---|---|
| Automated | No human intervention required |
| Fast | Completes in under 5 minutes (or can run in parallel) |
| Actionable | Output tells you exactly what to fix, not just "vulnerability found" |
| Low false positive rate | You trust the output enough to fail builds on it |
| Covers a distinct layer | Does not duplicate what another tool already does |
If a scan is slow, noisy, or produces unactionable results, your team will ignore it. Security scanning that gets ignored is worse than no scanning – it trains developers to click "approve" without looking.
Here are the ten that pass this test.
Scanning Step #1: Static Application Security Testing (SAST)
What it is:
SAST scans your source code for security vulnerabilities without running the code. It looks for patterns that indicate SQL injection, cross-site scripting (XSS), insecure deserialization, hardcoded secrets, and dozens of other bug classes.
Why you need it:
SAST finds vulnerabilities before they ever become runnable code. It works on your IDE-saved files, your unit tests, your helper functions – everything in your repository.
What it finds:
| Vulnerability type | Example SAST would catch |
|---|---|
| SQL injection | String concatenation in database query |
| XSS | User input passed to innerHTML without sanitization |
| Hardcoded secrets | API keys, passwords, tokens in code |
| Insecure cryptography | MD5, SHA1, or custom encryption |
| Path traversal | User input in file system paths |
| Command injection | User input in shell commands |
Tools to use:
| Tool | Best for | Pricing |
|---|---|---|
| SonarQube | Enterprise, multiple languages | Free (self-hosted), paid tiers |
| Semgrep | Fast, customizable rules | Free (OSS), paid for team/enterprise |
| CodeQL (GitHub) | Deep analysis, large codebases | Free for public repos, paid for private |
| Checkmarx | Enterprise compliance | Commercial (expensive) |
| Bandit | Python only | Free |
| ESLint + security plugins | JavaScript/TypeScript | Free |
How to add it to your pipeline (GitHub Actions example):
name: SAST Scan

on: [push, pull_request]

jobs:
  semgrep:
    runs-on: ubuntu-latest
    steps:
      - uses: actions/checkout@v4
      - name: Semgrep scan
        run: |
          docker run --rm -v "${PWD}:/src" semgrep/semgrep semgrep scan --config=auto --error
What to fail on:
| Severity | Action |
|---|---|
| Critical (SQL injection, command injection) | ❌ Fail build, cannot merge |
| High (XSS, path traversal) | ❌ Fail build, can merge with security review |
| Medium (weak crypto, information disclosure) | ⚠️ Warning, track as technical debt |
| Low (best practice violations) | 📝 Log only, do not block |
The catch:
SAST produces false positives. A well-meaning developer who writes "SELECT * FROM users WHERE id = " + userId after validating userId as an integer is still flagged for SQL injection. Your team needs a process to review and dismiss false positives quickly, or SAST becomes noise.
Scanning Step #2: Software Composition Analysis (SCA)
What it is:
SCA scans your dependencies (npm, pip, go modules, etc.) for known vulnerabilities. It checks each library against public databases like the National Vulnerability Database (NVD), GitHub Security Advisories, and others.
Why you need it:
Your own code might be perfect. Your dependencies are not.
Every year, thousands of vulnerabilities are discovered in open-source libraries. Log4Shell (2021) affected millions of applications. The maintainer of a popular npm package with millions of weekly downloads was a volunteer who almost abandoned it. That is your supply chain risk.
What it finds:
| Finding | Example |
|---|---|
| Known CVE in a dependency | Lodash prototype pollution (CVE-2019-10744) |
| Outdated library with published fix | Express 4.17.3 has known vuln fixed in 4.18.0 |
| Malicious package | typosquatting attacks (npm install request vs reqwest) |
| License violations | GPL-licensed lib in commercial product |
Tools to use:
| Tool | Best for | Pricing |
|---|---|---|
| GitHub Dependabot | GitHub users | Free |
| Snyk | Developer-friendly, multiple integrations | Free tier, paid for teams |
| OWASP Dependency-Check | Open source, self-hosted | Free |
| Renovate | Dependency updates (not just vulns) | Free |
| Sonatype Nexus | Enterprise | Commercial |
How to add it to your pipeline (Snyk example):
name: SCA Scan

on: [push, pull_request]

jobs:
  snyk:
    runs-on: ubuntu-latest
    steps:
      - uses: actions/checkout@v4
      - name: Run Snyk to check for vulnerabilities
        uses: snyk/actions/node@master
        env:
          SNYK_TOKEN: ${{ secrets.SNYK_TOKEN }}
        with:
          args: --severity-threshold=high
What to fail on:
| Severity | Action |
|---|---|
| Critical + fix available | ❌ Fail build |
| Critical + fix not available | ⚠️ Block + security review required |
| High + fix available | ❌ Fail build |
| High + fix not available | ⚠️ Warning, track |
| Medium/Low | 📝 Log only |
The catch:
SCA only finds known vulnerabilities. Zero-day vulnerabilities (not yet in any database) are invisible. And SCA cannot tell if you actually use the vulnerable function – it only knows you imported the library. This leads to false positives.
Pro tip: Run SCA on every pull request. When a new vulnerability is discovered in a library you use, Dependabot or Snyk will automatically open a PR to fix it. Merge that PR within 7 days.
Scanning Step #3: Secrets Detection
What it is:
Scans your code and commit history for accidentally committed secrets: API keys, passwords, database connection strings, private keys, tokens, and credentials.
Why you need it:
The most common way companies get hacked is not advanced exploits. It is someone committing AWS_SECRET_ACCESS_KEY to a public repository.
I have seen this happen at startups and Fortune 500 companies. A developer puts credentials in a config file for convenience. They forget it is there. They commit. Within hours (sometimes minutes), bots scrape GitHub, find the secret, and start using it.
What it finds:
| Secret type | Example pattern |
|---|---|
| AWS keys | AKIA[0-9A-Z]{16} |
| GitHub tokens | ghp_[A-Za-z0-9]{36} |
| Private keys | -----BEGIN RSA PRIVATE KEY----- |
| Generic passwords | Hardcoded strings like password: "admin123" |
| API keys for Stripe, Twilio, etc. | Vendor-specific patterns |
| Database connection strings | mongodb://username:password@host |
Tools to use:
| Tool | Best for | Pricing |
|---|---|---|
| Gitleaks | Fast, accurate, CI/CD friendly | Free (open source) |
| TruffleHog | Deep history scanning (finds secrets in old commits) | Free (open source) |
| GitHub Secret Scanning | GitHub-native | Free for public repos, included with GHAS for private |
| git-secrets | Simple, pre-commit hooks | Free |
| detect-secrets | Yelp's tool, good for pre-commit | Free |
How to add it to your pipeline (Gitleaks example):
name: Secrets Detection

on: [push, pull_request]

jobs:
  gitleaks:
    runs-on: ubuntu-latest
    steps:
      - uses: actions/checkout@v4
        with:
          fetch-depth: 0
      - name: Run Gitleaks
        uses: gitleaks/gitleaks-action@v2
        env:
          GITHUB_TOKEN: ${{ secrets.GITHUB_TOKEN }}
Pre-commit hook (even better):
# .pre-commit-config.yaml
repos:
  - repo: https://github.com/gitleaks/gitleaks
    rev: v8.18.0
    hooks:
      - id: gitleaks
What to fail on:
| Finding | Action |
|---|---|
| Any secret in current commit | ❌❌ Hard fail. Block merge immediately. Rotate secret. |
| Any secret in commit history | ⚠️ Warning + require secret rotation |
The catch:
Secrets detection only finds secrets that match known patterns. A custom API key with no pattern (like a random 32-character string) will not be caught. Train your developers never to commit any credential, even "temporary" ones.
If you find a secret in your history: Rotate it immediately. The secret is compromised. The fact that it is in your history means it could have been stolen at any point. Change it, deploy the new secret, and remove the old one.
Scanning Step #4: Container Image Scanning
What it is:
Scans your Docker container images (or OCI images) for vulnerabilities in the base OS packages, language runtimes, and installed software.
Why you need it:
Your application code is scanned. Your dependencies are scanned. But what about the container itself?
That FROM node:18 base image might have 50 known vulnerabilities in the underlying Debian or Alpine packages. Your code is not vulnerable, but the OS layer is. An attacker who gets a shell on your container can exploit those OS vulns to escalate privileges.
What it finds:
| Finding | Example |
|---|---|
| Vulnerable OS packages | OpenSSL vulnerability in base image |
| Outdated language runtimes | Node 16 (end-of-life) |
| Unnecessary packages | curl, wget, vim in production image |
| Non-root user violations | Container runs as root |
| Sensitive env vars in image layers | ENV SECRET=value in Dockerfile |
Tools to use:
| Tool | Best for | Pricing |
|---|---|---|
| Trivy | Fast, comprehensive, CI/CD native | Free (open source) |
| Grype | Good SBOM support, pairs with Syft | Free |
| Clair | Open source, integrates with Quay | Free |
| Docker Scout | Docker-native, good insights | Free (limited), paid for teams |
| Snyk Container | Integrates with Snyk ecosystem | Part of Snyk pricing |
How to add it to your pipeline (Trivy example):
name: Container Scan

on: [push, pull_request]

jobs:
  trivy:
    runs-on: ubuntu-latest
    steps:
      - uses: actions/checkout@v4
      - name: Build container image
        run: docker build -t myapp:${{ github.sha }} .
      - name: Run Trivy vulnerability scanner
        uses: aquasecurity/trivy-action@master
        with:
          image-ref: 'myapp:${{ github.sha }}'
          format: 'sarif'
          output: 'trivy-results.sarif'
          severity: 'CRITICAL,HIGH'
What to fail on:
| Severity | Action |
|---|---|
| Critical in base image | ❌ Fail build |
| High in base image | ❌ Fail build |
| Critical/High in your added layers | ❌ Fail build |
| Medium/Low in base image | ⚠️ Warning (track, but may not block) |
The catch:
Base images are updated frequently. A vulnerability discovered today in openssl did not exist yesterday. Your image that passed scan last week might fail today. This is not a bug – it is a feature. You need to rebuild and redeploy regularly, not just when you change code.
Pro tip: Use minimal base images (node:18-slim, alpine, distroless). Fewer packages = smaller attack surface = fewer vulnerabilities.
Scanning Step #5: Infrastructure as Code (IaC) Scanning
What it is:
Scans your Terraform, CloudFormation, Kubernetes manifests, and other IaC files for security misconfigurations before they are deployed.
Why you need it:
Your application could be perfectly secure. And then someone creates a publicly exposed S3 bucket with "Allow: *" in the policy. Or opens port 22 (SSH) to 0.0.0.0/0. Or deploys a Kubernetes service with type: LoadBalancer and no authentication.
IaC scanning finds these mistakes before they hit production.
What it finds:
| Misconfiguration | Example |
|---|---|
| Publicly exposed storage | S3 bucket with public read/write |
| Overly permissive security groups | Port 22 open to 0.0.0.0/0 |
| Container privilege escalation | privileged: true in Kubernetes pod |
| Unencrypted volumes | RDS without encryption |
| Hardcoded secrets in IaC | password = "admin123" in Terraform |
| Missing logging | CloudTrail not enabled |
Tools to use:
| Tool | Best for | Pricing |
|---|---|---|
| Checkov | Broad coverage (Terraform, K8s, CloudFormation, etc.) | Free |
| tfsec | Terraform-specific, fast | Free (now part of Trivy) |
| Terrascan | Multi-cloud IaC | Free |
| KICS | Comprehensive, many platforms | Free |
| kube-score | Kubernetes manifests only | Free |
How to add it to your pipeline (Checkov example):
name: IaC Scan

on: [push, pull_request]

jobs:
  checkov:
    runs-on: ubuntu-latest
    steps:
      - uses: actions/checkout@v4
      - name: Run Checkov
        uses: bridgecrewio/checkov-action@master
        with:
          directory: terraform/
          framework: terraform
          soft_fail: false
What to fail on:
| Severity | Action |
|---|---|
| Critical (public exposure, privilege escalation) | ❌ Fail build |
| High (missing encryption, overly permissive) | ❌ Fail build |
| Medium (missing logging, tags) | ⚠️ Warning |
| Low (best practices) | 📝 Log only |
The catch:
IaC scanning cannot understand your business logic. A security group that allows port 22 from your office IP (specific IP range) is fine. tfsec will still flag it as "SSH open to internet" if it cannot tell that the IP range is your office. You will need to suppress some false positives with inline comments.
Scanning Step #6: Software Bill of Materials (SBOM) Generation
What it is:
An SBOM is a complete inventory of every component in your application: direct dependencies, transitive dependencies, OS packages, and even the build tools. SBOM generation creates this inventory automatically.
Why you need it:
The US Executive Order 14028 (2021) requires software sold to the US government to have an SBOM. Many enterprises now require SBOMs from their vendors. But beyond compliance, SBOMs are essential for incident response.
When Log4Shell hit, every company asked: "Do we use Log4j?" Companies with SBOMs answered in minutes. Companies without SBOMs spent weeks manually checking.
What an SBOM includes:
| Field | Example |
|---|---|
| Component name | lodash |
| Version | 4.17.21 |
| Supplier | npm registry |
| Dependency relationship | myapp depends on lodash |
| Hash / fingerprint | SHA-256 of the package |
| License | MIT |
Tools to use:
| Tool | Best for | Format output |
|---|---|---|
| Syft | Containers, filesystems, directories | SPDX, CycloneDX, JSON |
| Trivy | Also generates SBOMs as a side effect | CycloneDX, SPDX |
| cdxgen | Many languages | CycloneDX |
| pip-audit (Python) | Python only | SBOM, dependency list |
| npm list --sbom (npm 10+) | Node.js native | SBOM |
How to add it to your pipeline (Syft example):
name: SBOM Generation

on: [push, pull_request]

jobs:
  generate-sbom:
    runs-on: ubuntu-latest
    steps:
      - uses: actions/checkout@v4
      - name: Generate SBOM
        uses: anchore/sbom-action@v0
        with:
          path: ./
          format: spdx-json
          output-file: sbom.spdx.json
      - name: Upload SBOM as artifact
        uses: actions/upload-artifact@v4
        with:
          name: sbom
          path: sbom.spdx.json
What to do with the SBOM:
| Action | Why |
|---|---|
| Store with each release | Historical record for incident response |
| Upload to vulnerability database (Dependency-Track, etc.) | Continuous monitoring for new CVEs |
| Share with enterprise customers | Compliance and trust |
| Review for license compliance | Avoid legal risk |
The catch:
An SBOM is not a vulnerability scan. It is an inventory. You still need SCA (step #2) to check that inventory against vulnerability databases. SBOM tells you what you have. SCA tells you which of those things are broken.
Scanning Step #7: Dynamic Application Security Testing (DAST)
What it is:
DAST scans your running application (in a staging environment) by acting like an attacker. It sends malicious payloads, malformed requests, and unexpected inputs to find vulnerabilities that SAST might miss.
Why you need it:
SAST looks at your source code. DAST looks at your actual running application. SAST might miss a vulnerability because the vulnerable code path is only reachable under specific runtime conditions. DAST finds it by actually trying to exploit it.
What it finds:
| Vulnerability | How DAST finds it |
|---|---|
| XSS | Injects <script>alert(1)</script> into fields, sees if it executes |
| SQL injection | Injects ' OR '1'='1 into parameters, watches for error messages |
| Path traversal | Requests ../../../etc/passwd, checks response |
| Authentication flaws | Tests weak passwords, brute force attempts |
| Session mismanagement | Tests token reuse, session fixation |
| Misconfigured headers | Checks for missing CSP, HSTS, etc. |
Tools to use:
| Tool | Best for | Pricing |
|---|---|---|
| OWASP ZAP | Open source, comprehensive | Free |
| Burp Suite Professional | Manual + automated testing | $449/year (professional) |
| StackHawk | CI/CD native, developer-friendly | Free tier, paid plans |
| GitHub Advanced Security | GitHub-native DAST (CodeQL + other) | Part of GHAS |
How to add it to your pipeline (OWASP ZAP with Docker):
name: DAST Scan

on:
  schedule:
    - cron: '0 2 * * *'  # Run daily at 2 AM
  workflow_dispatch:

jobs:
  zap:
    runs-on: ubuntu-latest
    steps:
      - name: Deploy staging environment
        run: |
          # Your deploy command here
      - name: Run ZAP scan
        run: |
          docker run -v $(pwd):/zap/wrk -u https://staging.yourdomain.com \
            -t owasp/zap2docker-stable \
            zap-baseline.py -t https://staging.yourdomain.com \
            -r report.html
      - name: Upload report
        uses: actions/upload-artifact@v4
        with:
          name: zap-report
          path: report.html
What to fail on:
| Finding | Action |
|---|---|
| Confirmed critical (SQL injection, RCE) | ❌ Fail build |
| Confirmed high (XSS with impact) | ❌ Fail build |
| Unconfirmed medium | ⚠️ Warning, manual review |
| Low / informational | 📝 Log only |
The catch:
DAST is slow. A full scan can take 30 minutes to several hours. It is not suitable for running on every push. Run DAST on a schedule (daily) or on demand before major releases.
DAST also cannot authenticate easily. If your application requires login, you need to configure DAST with test credentials and handle session management. This takes effort.
Scanning Step #8: CI/CD Pipeline Hardening Scan
What it is:
Scans your CI/CD pipeline configuration itself for security issues: exposed secrets, permission overreach, unsafe workflow patterns, and supply chain risks.
Why you need it:
Your application is secure. Your dependencies are scanned. Your container is clean. And then an attacker opens a pull request with a malicious GitHub Action that steals your secrets.
This is a supply chain attack on your build pipeline. It is increasingly common.
What it finds:
| Issue | Example |
|---|---|
| Overly permissive GITHUB_TOKEN | contents: write when only read needed |
| Untrusted actions | Using a third-party action with low version pin (v1 instead of v1.2.3) |
| Exposed secrets in logs | run: echo $SECRET (will appear in build logs) |
| Self-hosted runner misconfigurations | Runner with access to internal network |
| No pinned action versions | uses: actions/checkout@v3 (should be @v3.5.2) |
Tools to use:
| Tool | Best for | Pricing |
|---|---|---|
| scorecards (OpenSSF) | GitHub Actions security scoring | Free |
| step-security | GitHub Actions specific | Free tier, paid for team |
| Trivy (config scan) | Also scans CI configs | Free |
| pre-commit hooks for pipeline files | Local checks | Free |
How to add it to your pipeline (scorecards example):
name: Scorecards Analysis

on:
  branch_protection_rule:
  schedule:
    - cron: '0 0 * * 0'
  push:
    branches: [main]

jobs:
  analysis:
    runs-on: ubuntu-latest
    steps:
      - uses: actions/checkout@v4
      - uses: ossf/scorecard-action@v2
        with:
          results_file: results.sarif
          results_format: sarif
      - uses: actions/upload-artifact@v4
        with:
          name: SARIF file
          path: results.sarif
What to enforce:
| Rule | Why | Action |
|---|---|---|
| Pin actions to full SHAs (not tags) | Tags can be moved | ❌ Fail if unpinned |
| Use minimum permissions for GITHUB_TOKEN | Defense in depth | ⚠️ Warning if over-permissive |
| No secrets in GitHub Actions logs | Self-explanatory | ❌❌ Hard fail |
| No self-hosted runners unless isolated | Supply chain risk | ⚠️ Review required |
The catch:
Pipeline hardening is new. Most CI/CD platforms do not have built-in tools for this yet. You will need to implement checks manually or use third-party tools like scorecards.
Scanning Step #9: Dependency Vulnerability Monitoring (Continuous, Not Just One-Time)
What it is:
A continuous monitoring system that watches your dependencies for new vulnerabilities discovered after your last build. When a new CVE is published, the system alerts you and automatically opens a pull request to update the vulnerable library.
Why you need it:
Your code does not change. Hackers discover new vulnerabilities. That combination is how breaches happen.
You deployed on Monday with a clean scan. On Wednesday, a critical vulnerability is announced in one of your dependencies. You are now vulnerable in production. You do not know it. The hackers are already scanning for it.
What continuous monitoring provides:
| Feature | Why |
|---|---|
| Real-time vulnerability feed | You know within hours, not months |
| Automated PRs for fixes | Remediation is one click, not a research project |
| Alerts to Slack/Teams/email | Someone on your team notices |
| Historical tracking | Audit trail of when you fixed what |
Tools to use:
| Tool | Best for | Pricing |
|---|---|---|
| Dependabot (GitHub) | GitHub-native, automatic PRs | Free |
| Snyk | Weekly/monthly alerts, PRs | Free tier, paid for teams |
| Renovate | Highly configurable | Free |
| Socket.dev | Supply chain specific | Free for OSS, paid for private |
How to configure (Dependabot example in repo):
# .github/dependabot.yml
version: 2
updates:
  - package-ecosystem: "npm"
    directory: "/"
    schedule:
      interval: "daily"
    open-pull-requests-limit: 10
    target-branch: "main"
    commit-message:
      prefix: "security"
    reviewers:
      - "your-username"
    labels:
      - "security"
      - "dependencies"
  - package-ecosystem: "github-actions"
    directory: "/"
    schedule:
      interval: "weekly"
What to fail on:
| Scenario | Action |
|---|---|
| New critical CVE with patch available | Auto-PR created. Human must merge within 7 days. |
| New critical CVE without patch | Security review required. Consider workaround or disabling feature. |
| No action after 14 days | Escalate to team lead / CTO. |
The catch:
Continuous monitoring generates noise. You will get PRs daily. Your team needs a process to review and merge them quickly. Automate as much as possible (automated tests + auto-merge for non-breaking updates).
Scanning Step #10: Post-Deployment Verification (Runtime Scanning)
What it is:
Scans your production environment after deployment to verify that security controls are actually working. This is DAST but on production (carefully) plus configuration validation.
Why you need it:
You can pass all pre-deployment scans. Your environment can still be misconfigured.
Someone manually changed a security group in the AWS console. A load balancer bypasses your WAF. An S3 bucket was created outside of Terraform with public read permissions. A Kubernetes namespace lacks network policies.
Pre-deployment scans (steps 1-9) cannot catch these because they happen outside your pipeline.
What it finds:
| Finding | Example |
|---|---|
| Publicly exposed internal service | A staging database exposed to the internet |
| Missing WAF or rate limiting on production | No CloudFront/WAF on API Gateway |
| Overly permissive IAM roles | Instance role with s3:* access |
| Unencrypted data at rest | RDS without encryption |
| Production not matching staging (drift) | Different security group than IaC defines |
Tools to use:
| Tool | Best for | Pricing |
|---|---|---|
| AWS Security Hub | AWS-native, compliance checks | Pay per finding |
| Cloud Custodian | Open source, multi-cloud | Free |
| Scout Suite | Open source, read-only scanning | Free |
| Prowler | AWS-specific, comprehensive | Free (open source) |
| InSpec (Chef) | Compliance as code | Open source |
How to add it to your pipeline (Prowler example on schedule):
name: Runtime Production Scan

on:
  schedule:
    - cron: '0 6 * * 1'  # Weekly on Monday at 6 AM

jobs:
  prowler:
    runs-on: ubuntu-latest
    steps:
      - uses: actions/checkout@v4
      - name: Run Prowler
        uses: toniblyx/prowler-action@v1
        with:
          region: us-east-1
          output-mode: html
          output-filename: prowler-report
      - name: Upload report
        uses: actions/upload-artifact@v4
        with:
          name: production-security-report
          path: prowler-report.html
What to fail on (different from other steps – production scan should NOT fail your build):
| Finding | Action |
|---|---|
| Critical misconfiguration | 🚨 Immediate alert to on-call. Do not auto-remediate. |
| High misconfiguration | 📢 Alert in team channel, create ticket, fix within 24 hours. |
| Medium/Low | 📝 Log, track, quarterly review. |
The catch:
Runtime scanning can impact production performance. Run it sparingly (weekly) or during low-traffic periods. Use read-only permissions to avoid accidentally changing anything.
How to Implement These 10 Steps (Realistic Timeline)
You cannot add all 10 steps at once. Your team will revolt. Here is a realistic rollout plan.
Week 1 (2 hours):
- Add Secrets Detection (step #3) as a pre-commit hook. Low friction, high value.
- Add SCA (Dependabot) (step #2 + #9) – turn it on, let it open PRs.
Week 2 (4 hours):
- Add SAST (step #1) to CI, initially as "warn only" (do not fail builds). Collect false positive data.
- Add SBOM Generation (step #6) as an artifact. Just start collecting.
Week 3 (4 hours):
- Turn on Container Scanning (step #4) for your base images.
- Add IaC Scanning (step #5) to Terraform/K8s PRs.
Week 4 (4 hours):
- Add DAST (step #7) on a nightly schedule for staging.
- Add CI/CD Hardening (step #8) checks.
Week 6 (2 hours):
- Add Runtime Production Scan (step #10) weekly.
Week 8+:
- Start failing builds on critical/high findings. Start with SAST, then SCA, then container scanning.
Summary: The 10 Steps at a Glance
| # | Step | What it scans | When to run | Fail build? |
|---|---|---|---|---|
| 1 | SAST | Source code | Every PR | Yes (critical/high) |
| 2 | SCA | Dependencies | Every PR | Yes (critical/high with fix) |
| 3 | Secrets detection | Code + history | Pre-commit + PR | Yes (any secret) |
| 4 | Container scanning | Docker images | Every build | Yes (critical/high) |
| 5 | IaC scanning | Terraform, K8s | Every PR | Yes (critical/high) |
| 6 | SBOM generation | Inventory | Every release | No (store artifact) |
| 7 | DAST | Running app (staging) | Daily/nightly | Yes (confirmed critical/high) |
| 8 | CI/CD hardening | Pipeline config | Every PR | Yes (unpinned actions) |
| 9 | Dep monitoring (continuous) | New vulnerabilities | Always | Auto-PR, human merges |
| 10 | Runtime scanning | Production environment | Weekly | No (alert only) |
Frequently Asked Questions
How much will this cost?
If you use open-source tools (Semgrep, Trivy, Gitleaks, Checkov, Prowler, Dependabot) – zero dollars, just your team's time. If you use commercial tools (Snyk, StackHawk, GitHub Advanced Security) – $10-50 per developer per month.
Will this slow down our CI/CD?
Some steps (SAST, SCA, container scan) take 1-3 minutes. Run them in parallel, not sequentially. DAST runs on a schedule, not per PR. Total added time: 5 minutes per PR typically. Worth it.
What about false positives?
SAST and IaC scanning have the most false positives. Start in "warn only" mode for 2 weeks. Collect data. Tune rules. Then turn on failing. For persistent false positives, use inline suppression comments with justification.
Do we need all 10 for a small startup?
No. Start with steps 1, 2, and 3 (SAST, SCA, secrets). Add step 4 (container) if you use containers. Add step 5 (IaC) if you use Terraform. Add step 10 (runtime) after you have more than 10 customers. The rest as you grow.
What about penetration testing? Does this replace it?
No. These scans find known vulnerabilities (CVEs) and common misconfigurations. Penetration testing finds novel vulnerabilities, business logic flaws, and chained exploits. You need both. Pen test annually or after major releases.
How do we get developers to actually fix the findings?
Make it easy. Auto-PRs (Dependabot) for dependency fixes. One-click suppression for false positives. Security review as part of PR process, not a separate gate. And measure – show the team when vulnerabilities drop. Celebrate fixes.
The Bottom Line
Here is the uncomfortable truth.
Your application has vulnerabilities today. You do not know where they are. Neither do I. Neither does your most senior engineer.
The difference between companies that get hacked and companies that do not is not "we have better developers." It is "we have automation that finds vulnerabilities before attackers do."
The ten steps above are not theoretical. They are not "security best practices" from a consultant.
They are a checklist. A pipeline. A set of automated gates between your code and your production environment.
Every single step exists because companies ignored it and paid the price. Public S3 buckets. Log4Shell in production for months. Exposed secrets on GitHub. Over-permissive IAM roles. Containers running as root.
You do not have to add all ten tomorrow. But add one tomorrow. Then another next week. Then another the week after.
Because every day you wait, there is a vulnerability in your production environment that your pipeline does not catch.
And someone is scanning for it right now.
– Written by Fredsazy

Iria Fredrick Victor
Iria Fredrick Victor(aka Fredsazy) is a software developer, DevOps engineer, and entrepreneur. He writes about technology and business—drawing from his experience building systems, managing infrastructure, and shipping products. His work is guided by one question: "What actually works?" Instead of recycling news, Fredsazy tests tools, analyzes research, runs experiments, and shares the results—including the failures. His readers get actionable frameworks backed by real engineering experience, not theory.
Share this article:
Related posts
More from Devops
May 27, 2026
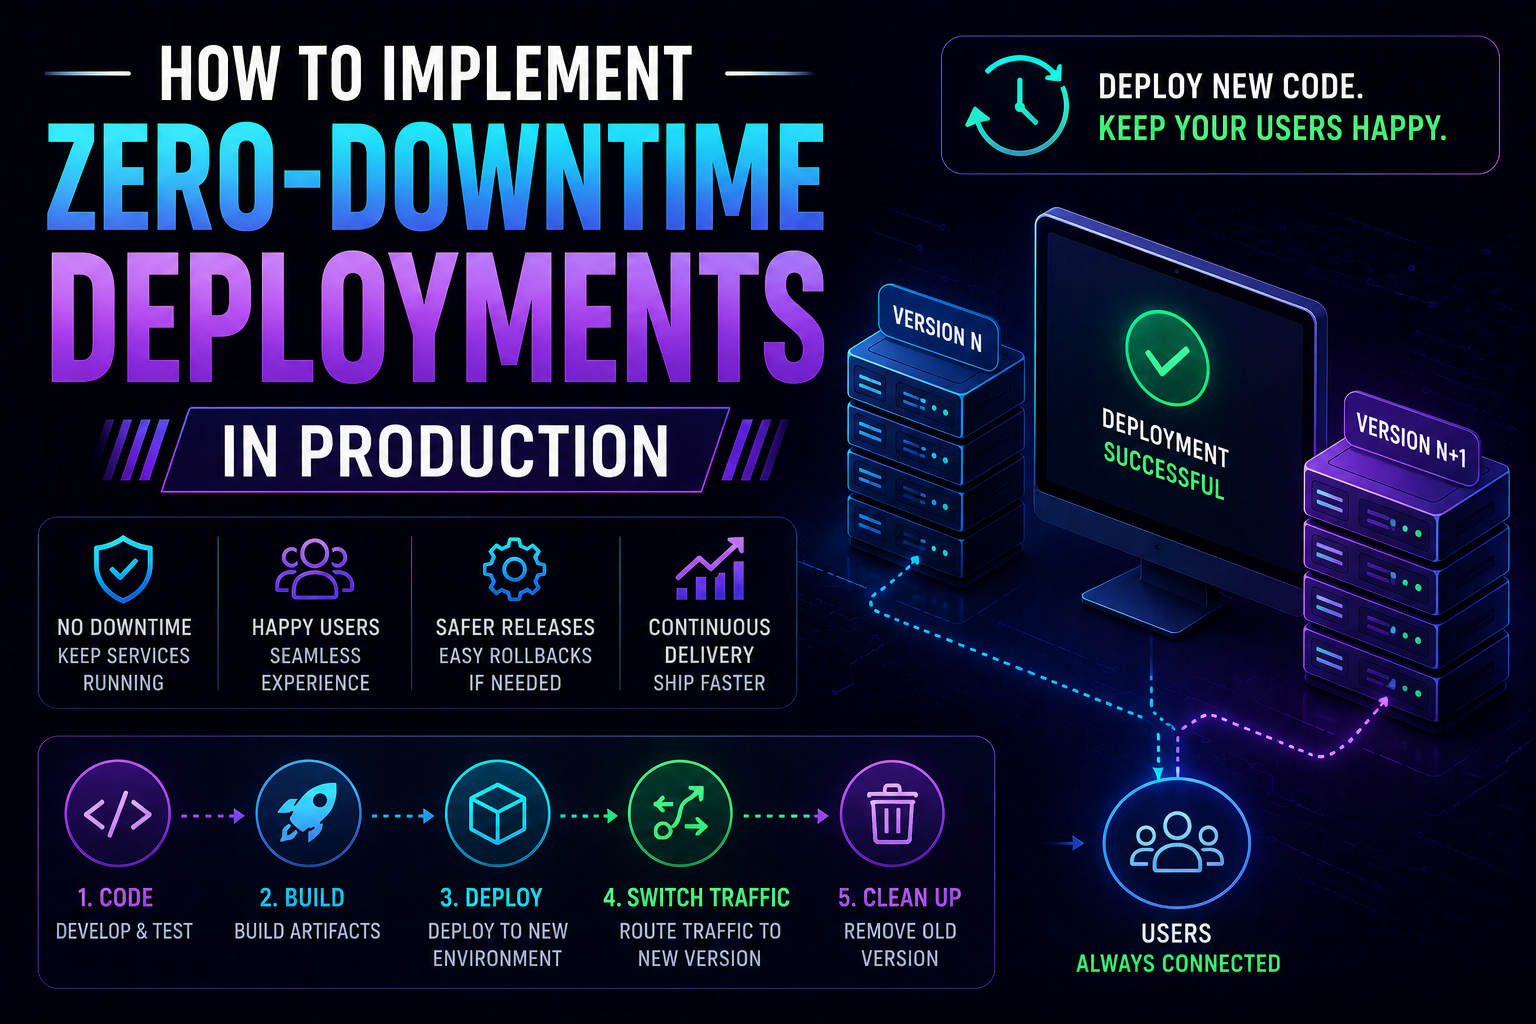
130Learn how to implement zero-downtime deployments in production — covering rolling updates, blue-green deployments, canary releases, feature flags, database migration patterns, graceful shutdown, and automated rollback with real Kubernetes YAML and code examples.
May 13, 2026
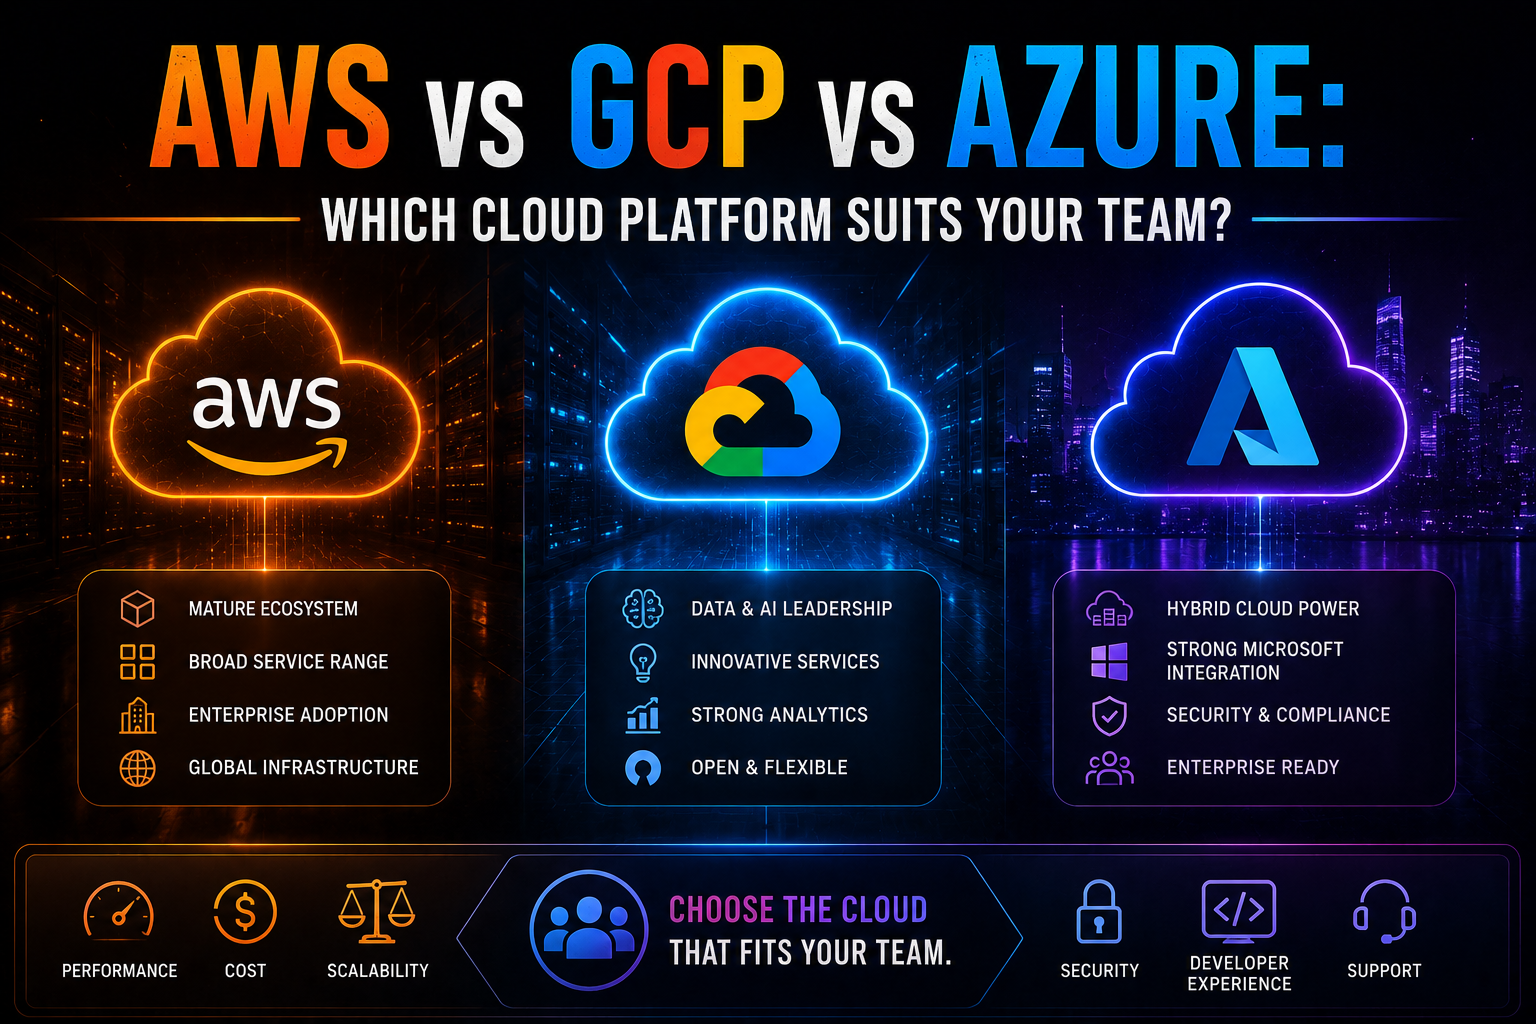
800AWS vs Azure vs GCP in 2026 — an honest, vendor-neutral comparison covering market share, AI/ML tooling, pricing, Kubernetes, compliance, and which cloud platform suits your team's specific workload and ecosystem.
May 5, 2026
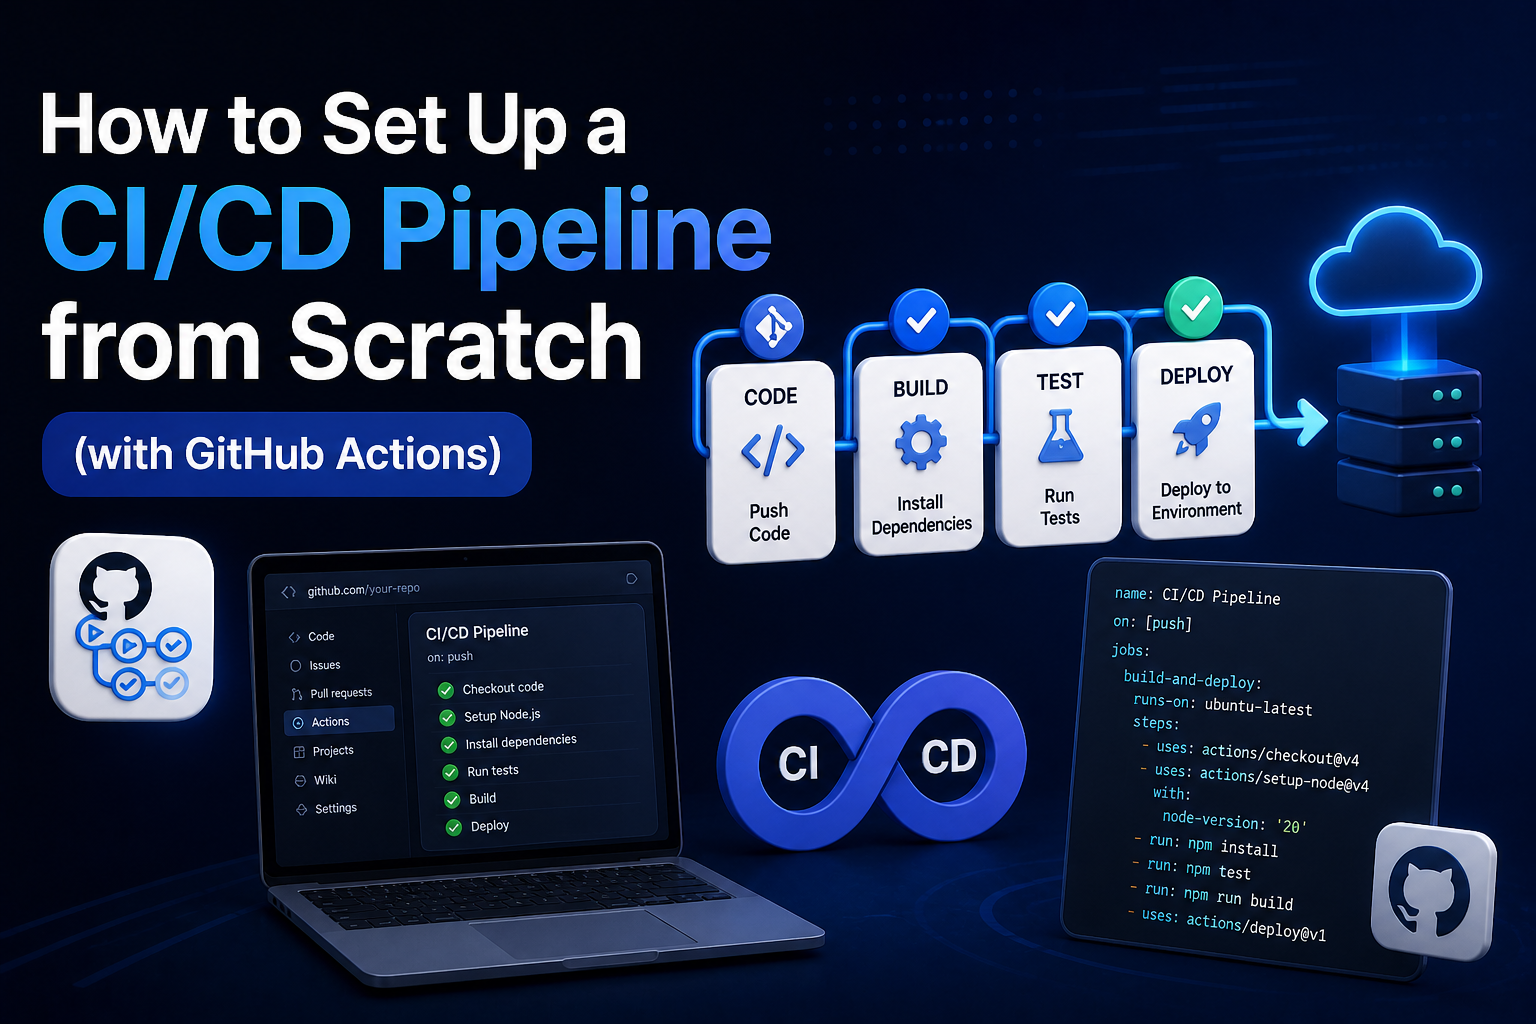
156Learn how to set up a production-ready CI/CD pipeline from scratch with GitHub Actions — full annotated YAML for linting, testing, Docker builds, security scanning, staging deployment, and production approval gates.